
JupyterLab brings notebooks, files, terminals, and text editors into one browser workspace. Run your analysis on a cluster compute node while keeping your data on cluster storage.
On this page: Where it runs · Start a session · Launch settings · Troubleshooting
Where it runs
| Cluster | Runs on |
|---|---|
| SeaWulf | Shared CPU queues on 40-core or 96-core nodes |
| ClinWulf | CPU or GPU queues |
For clinical work, use your approved study directories on ClinWulf and follow your study requirements for data handling.
Start a session
- Sign in to the OnDemand portal for your cluster (SeaWulf, ClinWulf) with your NetID and Duo.
- Open Interactive Apps and choose JupyterLab. Look under Sandbox for JupyterLab if it is not in the regular menu.
- Choose the launch settings below and click Launch.
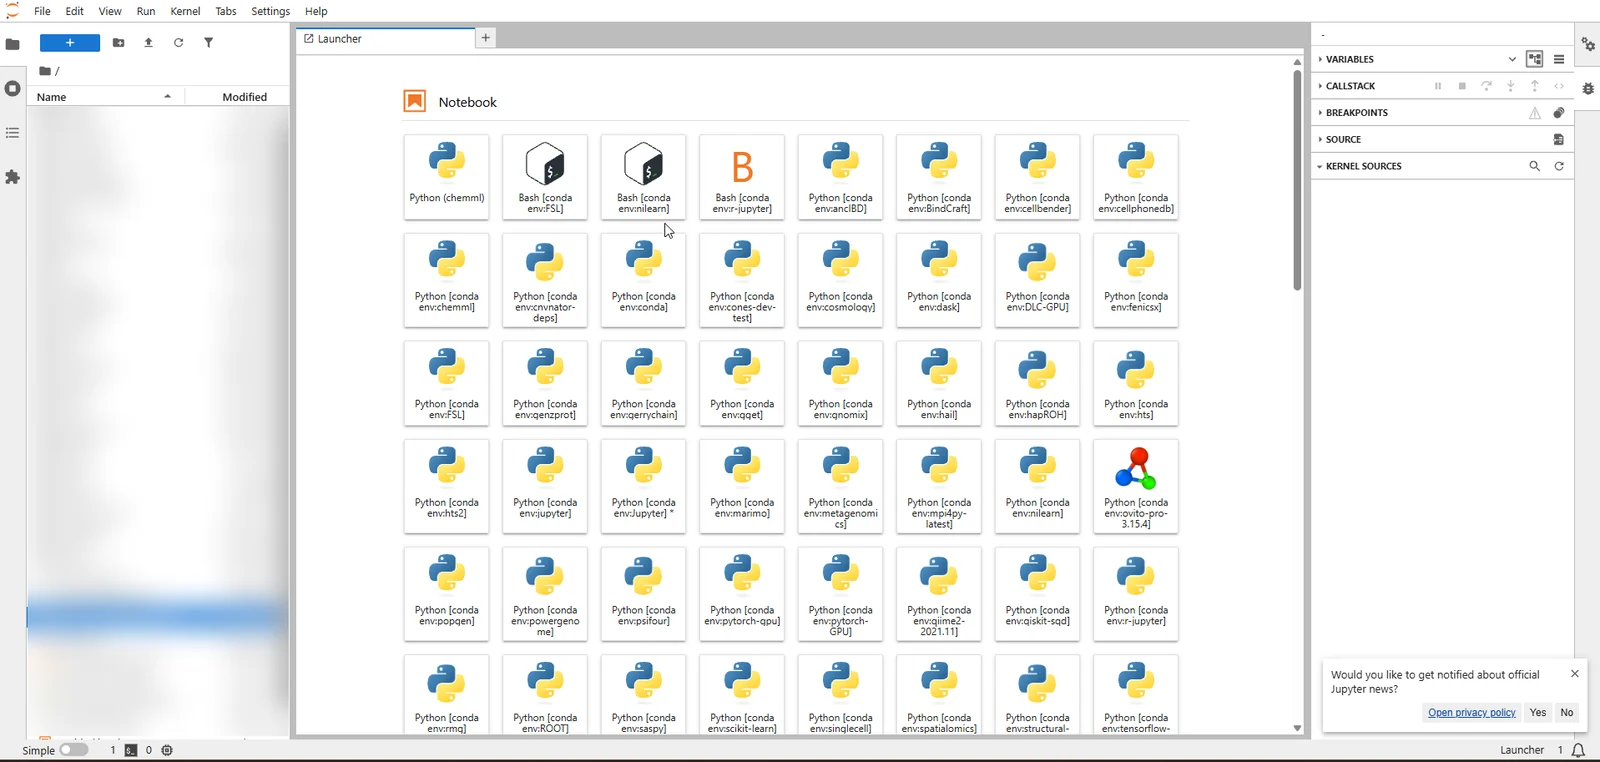
- Wait for Running, then click the JupyterLab connect button. Open or create a notebook from the Launcher, then choose the kernel for your project (see Troubleshooting if it is missing).
- Save your work or export the results, then click Delete on the session card when finished. Closing the browser tab does not stop the session.
Launch settings
Defaults below are starting points. Ask for resources your task needs, and keep the requested hours within the selected queue limit.
SeaWulf
| Setting | What to choose |
|---|---|
| Queue | Shared CPU queues on 40-core or 96-core nodes. Short up to 4 hours; long up to 24; extended up to 84. Start with short-40core-shared or short-96core-shared. |
| Number of hours | Default 1 hour. Choose enough time for your work, within the selected queue limit. |
| Number of cores | Default 1; form range 1 to 96. Use only as many cores as the task can use, within the selected node capacity. |
| Memory (GB) | Default 4 GB. Choices: 2, 4, 8, 16, 32, 64, 128, 164 GB. |
| Modules to load | Keep jupyter/latest. Change it only if your project needs another supported JupyterLab module. |
ClinWulf
| Setting | What to choose |
|---|---|
| Queue | CPU Short, Long, or Extra; GPU Short, Long, or Extra. Start with cpu_short for CPU work and use the time limit shown by the portal. |
| Number of hours | Default 1 hour. Choose enough time for your work, within the selected queue limit. |
| Number of GPUs | Default 0. Choices: 0, 1, 2, 4. Use a GPU queue for a nonzero request. |
| Memory (GB) | Default 4 GB. Choices: 2, 4, 8, 16, 32, 64 GB. |
| Modules to load | Keep jupyterlab/2025. Change it only if your project needs another supported JupyterLab module. |
Email notifications are optional on SeaWulf. Enter an email address and select Email when job starts if you want a start notification.
Choose an explicit memory size for routine work. All available can reserve node memory and increase waiting time; use it only when your task needs it.
Troubleshooting
My kernel is missing. Register your environment as a Jupyter kernel, then start a new session. The Jupyter notebooks guide explains how to add your own environment.
The kernel restarts. Try a smaller dataset or relaunch with more memory. Requesting more CPU cores alone will not increase the memory available to your notebook.
JupyterLab does not start. Keep the site module in Modules to load. If you changed it, restore jupyter/latest on SeaWulf or jupyterlab/2025 on ClinWulf.
My session stays Queued. Try a shorter request, less memory, or fewer cores or GPUs. Check the session output if the job fails instead of remaining queued.
If the problem continues, contact HPC support with the cluster, app name, job ID, and the error text.